Create your first webhook in Momento
To complete step one of setting up the webhook, log into the Momento console. Navigate to the cache list on the left navigation bar and select the cache that will publish to the webhook.
To create the webhook, a few simple details need to be supplied.
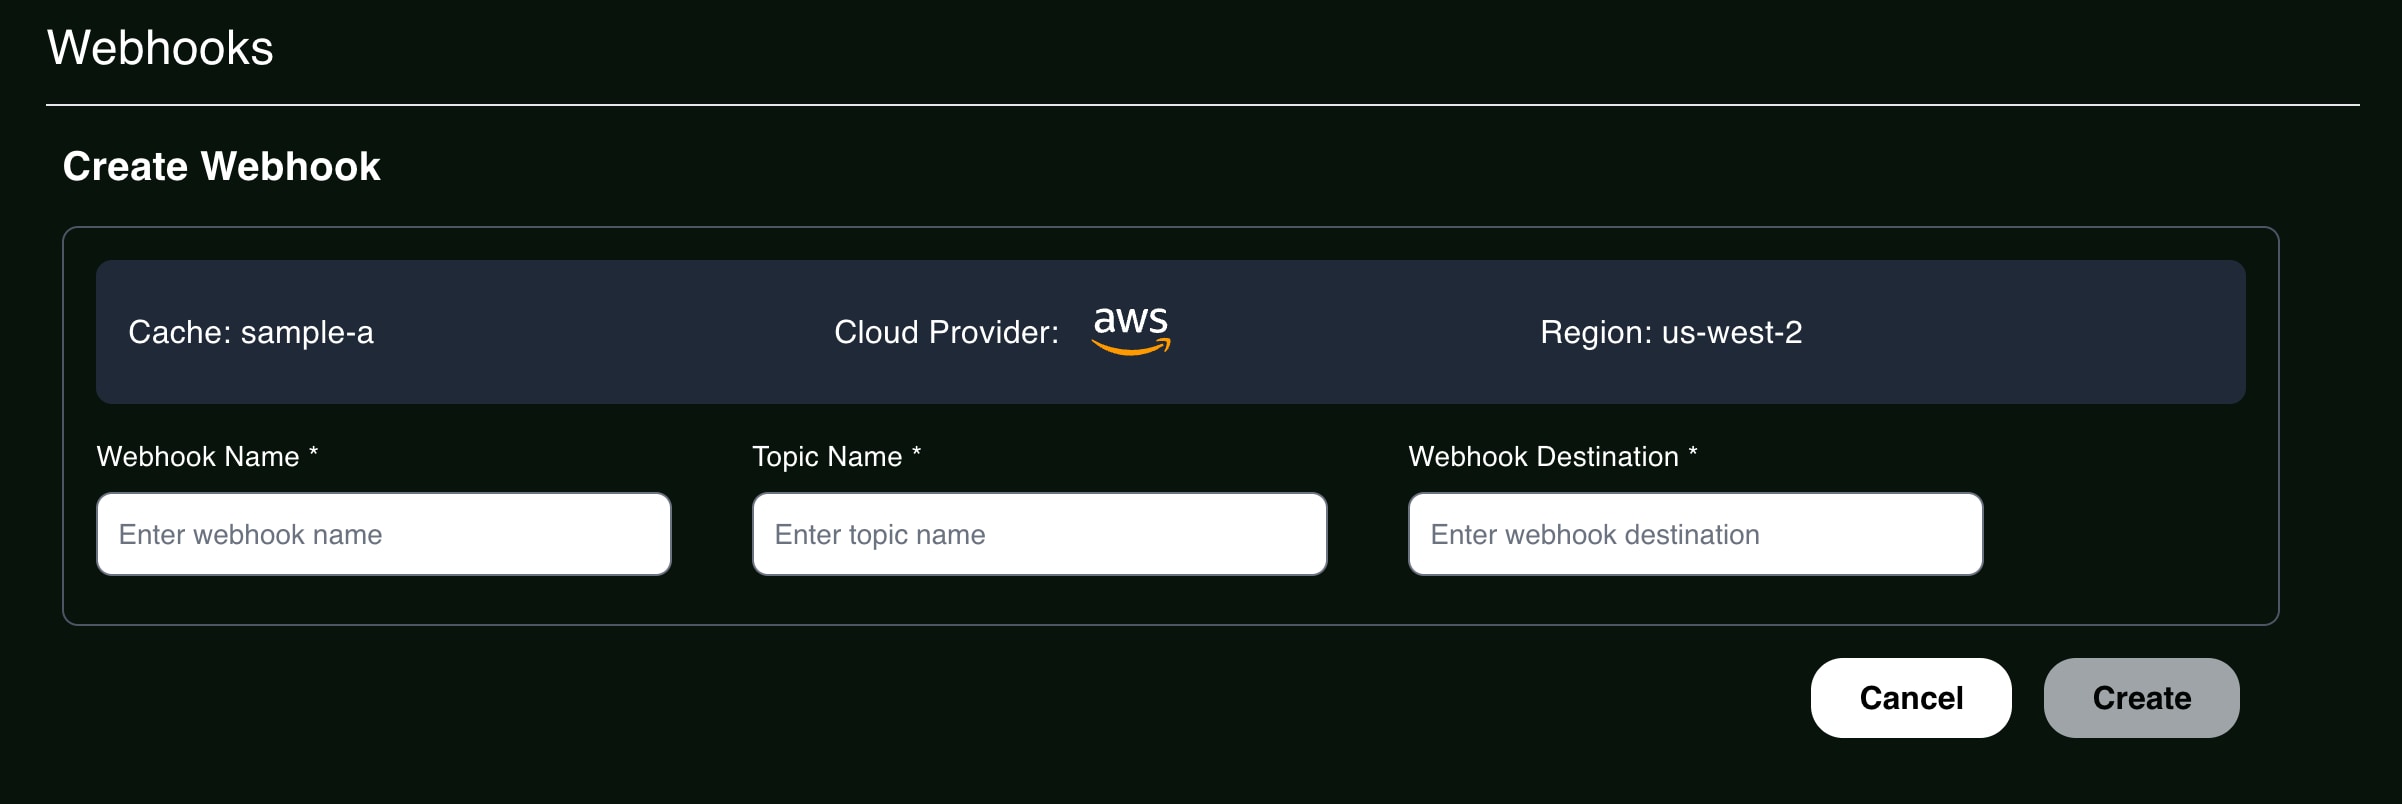
The three fields presented are important for different reasons.
- Webhook Name: Human-readable name for the webhook.
- Topic Name: Topic that will trigger the webhook when published.
- Webhook Destination: Endpoint URL of the webhook to POST to.
Next, create a Fine-Grained Access Key for the cache, with topic publish permissions.

Using this token, you can now start publishing to the topic. You can use the Momento SDK to publish to the topic.
- JavaScript
- Python
- Kotlin
- Go
- C#
- Rust
- Swift
- Dart
const result = await topicClient.publish(cacheName, 'test-topic', 'test-topic-value');
switch (result.type) {
  case TopicPublishResponse.Success:
    console.log("Value published to topic 'test-topic'");
    break;
  case TopicPublishResponse.Error:
    throw new Error(
      `An error occurred while attempting to publish to the topic 'test-topic' in cache '${cacheName}': ${result.errorCode()}: ${result.toString()}`
    );
}
response = await topic_client.publish("cache", "my_topic", "my_value")
match response:
    case TopicPublish.Success():
        print("Successfully published a message")
    case TopicPublish.Error() as error:
        print(f"Error publishing a message: {error.message}")
when (val response = topicClient.publish("test-cache", "test-topic", "test-message")) {
    is TopicPublishResponse.Success -> println("Message published successfully")
    is TopicPublishResponse.Error -> throw RuntimeException(
        "An error occurred while attempting to publish message to topic 'test-topic': ${response.errorCode}",
        response
    )
}
_, err := topicClient.Publish(ctx, &momento.TopicPublishRequest{
	CacheName: cacheName,
	TopicName: "test-topic",
	Value:     momento.String("test-message"),
})
if err != nil {
	panic(err)
}
var publishResponse =
     await topicClient.PublishAsync("test-cache", "test-topic", "test-topic-value");
switch (publishResponse)
{
    case TopicPublishResponse.Success:
        Console.WriteLine("Successfully published message to 'test-topic'");
        break;
    case TopicPublishResponse.Error error:
        throw new Exception($"An error occurred while publishing topic message: {error.ErrorCode}: {error}");
}
  topic_client
      .publish(cache_name, topic_name, "Hello, Momento!")
      .await?;
  println!("Published message");
let result = await topicClient.publish(
    cacheName: cacheName,
    topicName: "topic",
    value: "value"
)
switch result {
case .success(_):
    print("Successfully published message!")
case .error(let err):
    print("Unable to publish message: \(err)")
    exit(1)
}
final result = await topicClient.publish("cache", "topic", "hello message!");
switch (result) {
  case TopicPublishSuccess():
    print("Successful publish!");
  case TopicPublishError():
    print("Publish error: ${result.errorCode} ${result.message}");
}
You should now be able to see the events being received by your webhook endpoint. What this endpoint does with the events is up to you! It is worth noting that this Webhook can listen to multiple topics across multiple caches. Since the topic and cache come as part of the POST body, events can be distinguished by these attributes, and processed in differently depending on which Cache/Topic the event came from.